Posted on May 4, 2020 at 4:47 p.m.
Final project for Physical Computing and Alternate Interfaces. I decided to create an
interactive experience with a lightsaber. By using a phone, the user can conncet to the
bluetooth module located inside the hilt and can turn on and off the ligthsaber, as well
as changing the color of the blade. Why have one colored kyber crystal when you can have them all?
View the final working lightsaber!
I started this project by setting up bluetooth. Using an Arduino Uno, I programmed an LED strip
to change based on certian commands being sent from my phone. Since I have an iOS device, it took
five apps to find the right one that would communicate correctly. The ultimate winner is an app
called BLE Terminal.
Upon opening the app, the user selects the bluetooth module they're looking for (in this case, it's named
DS TECH). Once connected, the user has an option of a few buttons on the bottom of the screen, all relating to
the color of the blade, or to turn it off. By pressing the buttons the lightsaber responds accordingly.
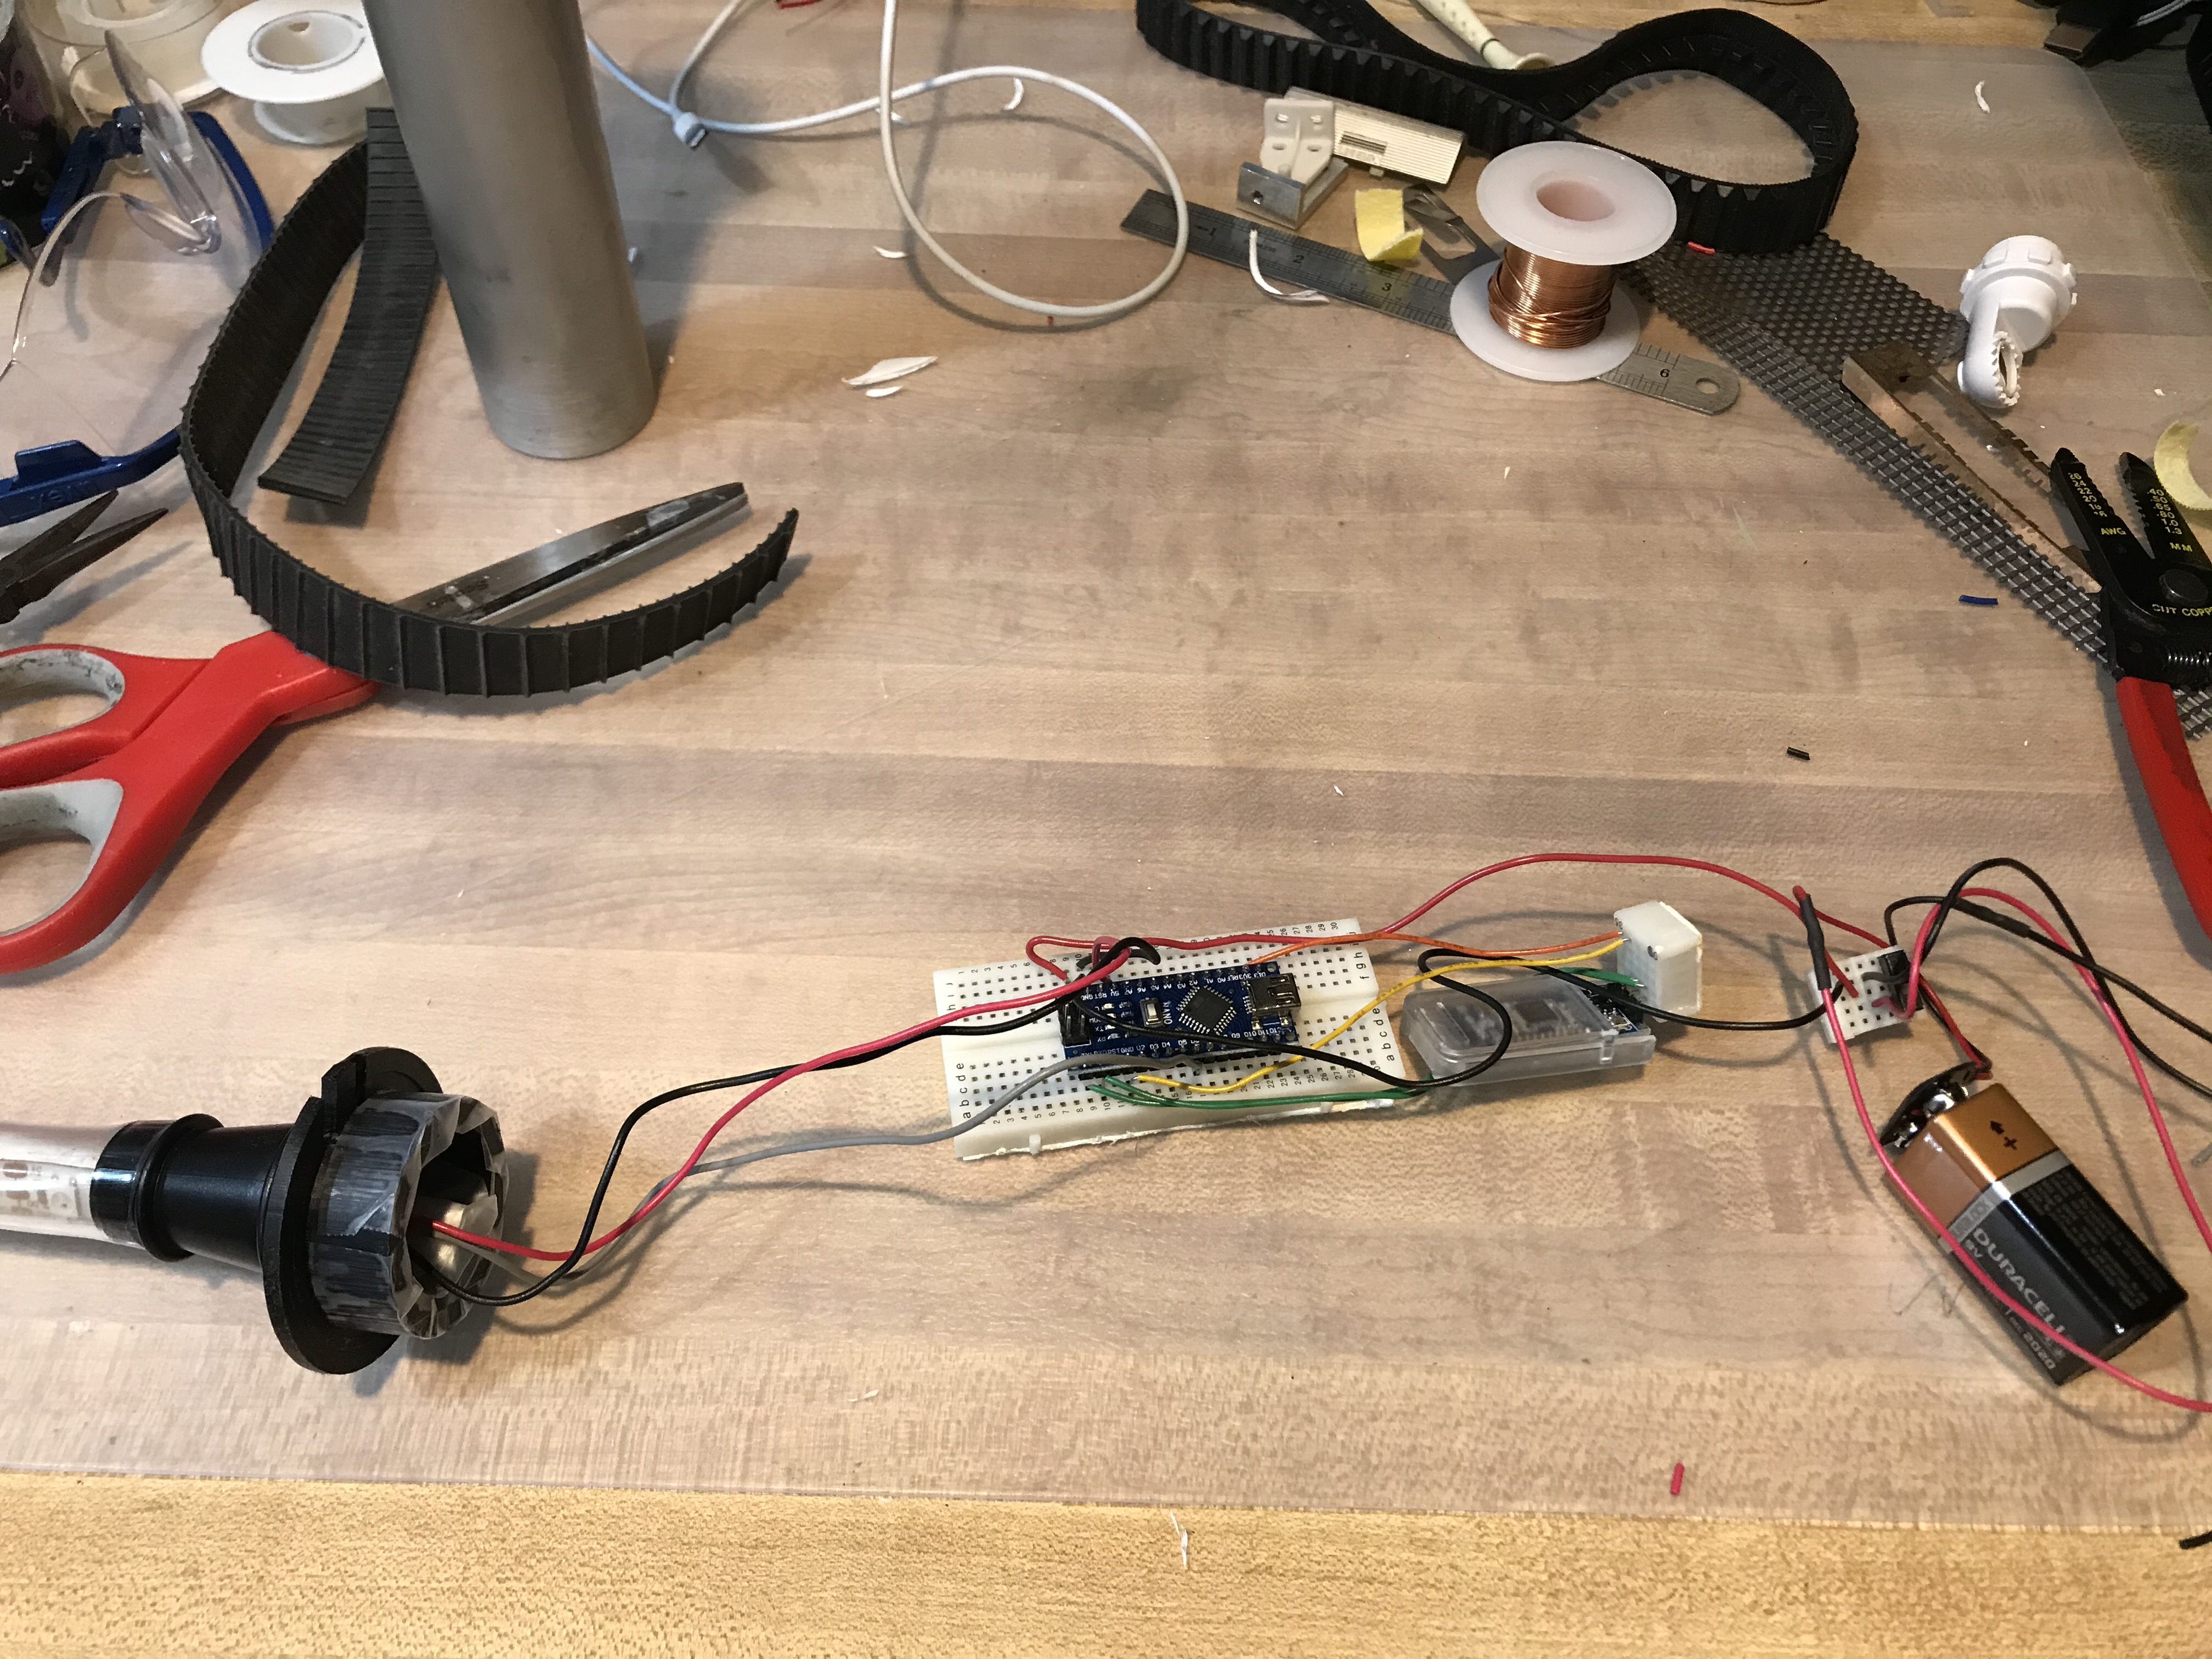
After getting the bluetooth and lights set up, the next problem was building the actual lightsaber. Rummaging around my house I found quite a few spare parts, all which went into creating the ligthsaber. A spare led pipe is the hilt, the spare scraps of metal on the hilt are from other kits and home projects, the cap to the lightsaber at the bottom is an old electrical wire clamp, and the long beam inside the plastic tube holding the lights up is an old bar that holds up blinds on windows. Taking these pieces I spray painted the accent parts gold to create a visually appealing device.
The next challenge I faced was having to run the Nano without it being plugged into the computer. Taking a battery I was able to plug it into the breadboard and use to power the entire device. However, the wires coming from the battery weren't solid core, but stranded. So I grabbed some extra solid core wires, cut off an inch of the wires coming from the battery, and soldered them together so the wires would fit smoothly inside the breadboard. I also added a power switch inside the device to break the power flowing to the rest of the circuit. I wanted to have it so the switch is sticking out of the blade, but unfortuntly I ran out of time.
Along with a power switch, in the future I would also want to improve the rigidity of the blade. Using a flexible,
clear piping was all I had available to me. Using the blinds pole did help the pipe and lights stand up straight,
but it is still a bit more loose than I would have liked.
I would also want to add sound effects to the ligthsaber. Unfortuntly I didn't have the parts I needed to play an
audio file, but making the sound effects yourself is also just as fun.